This article covers the Web Client, how to use it and the features that are or are not compatible with the Web Client.
Web Client provides users with the flexibility to complete your mobile forms within the web portal on any internet-connected, modern browser.
Table of Contents
Compatible and non-compatible features
Web Client
If you prefer to complete forms on your computer instead of the mobile app, you can use the GoCanvas Web Client. Accessible from the left navigation of the web portal, regardless of Account view, the Web Client offers nearly all the same features and functionality as the GoCanvas mobile application.
Please Notes
Please refer to the table at the end of this article for what features are available and not available at this time.
To start using the Web Client, open any modern browser, login to GoCanvas.com, and in the left navigation, click Web Client.
GoCanvas Tip
Google Chrome works best.
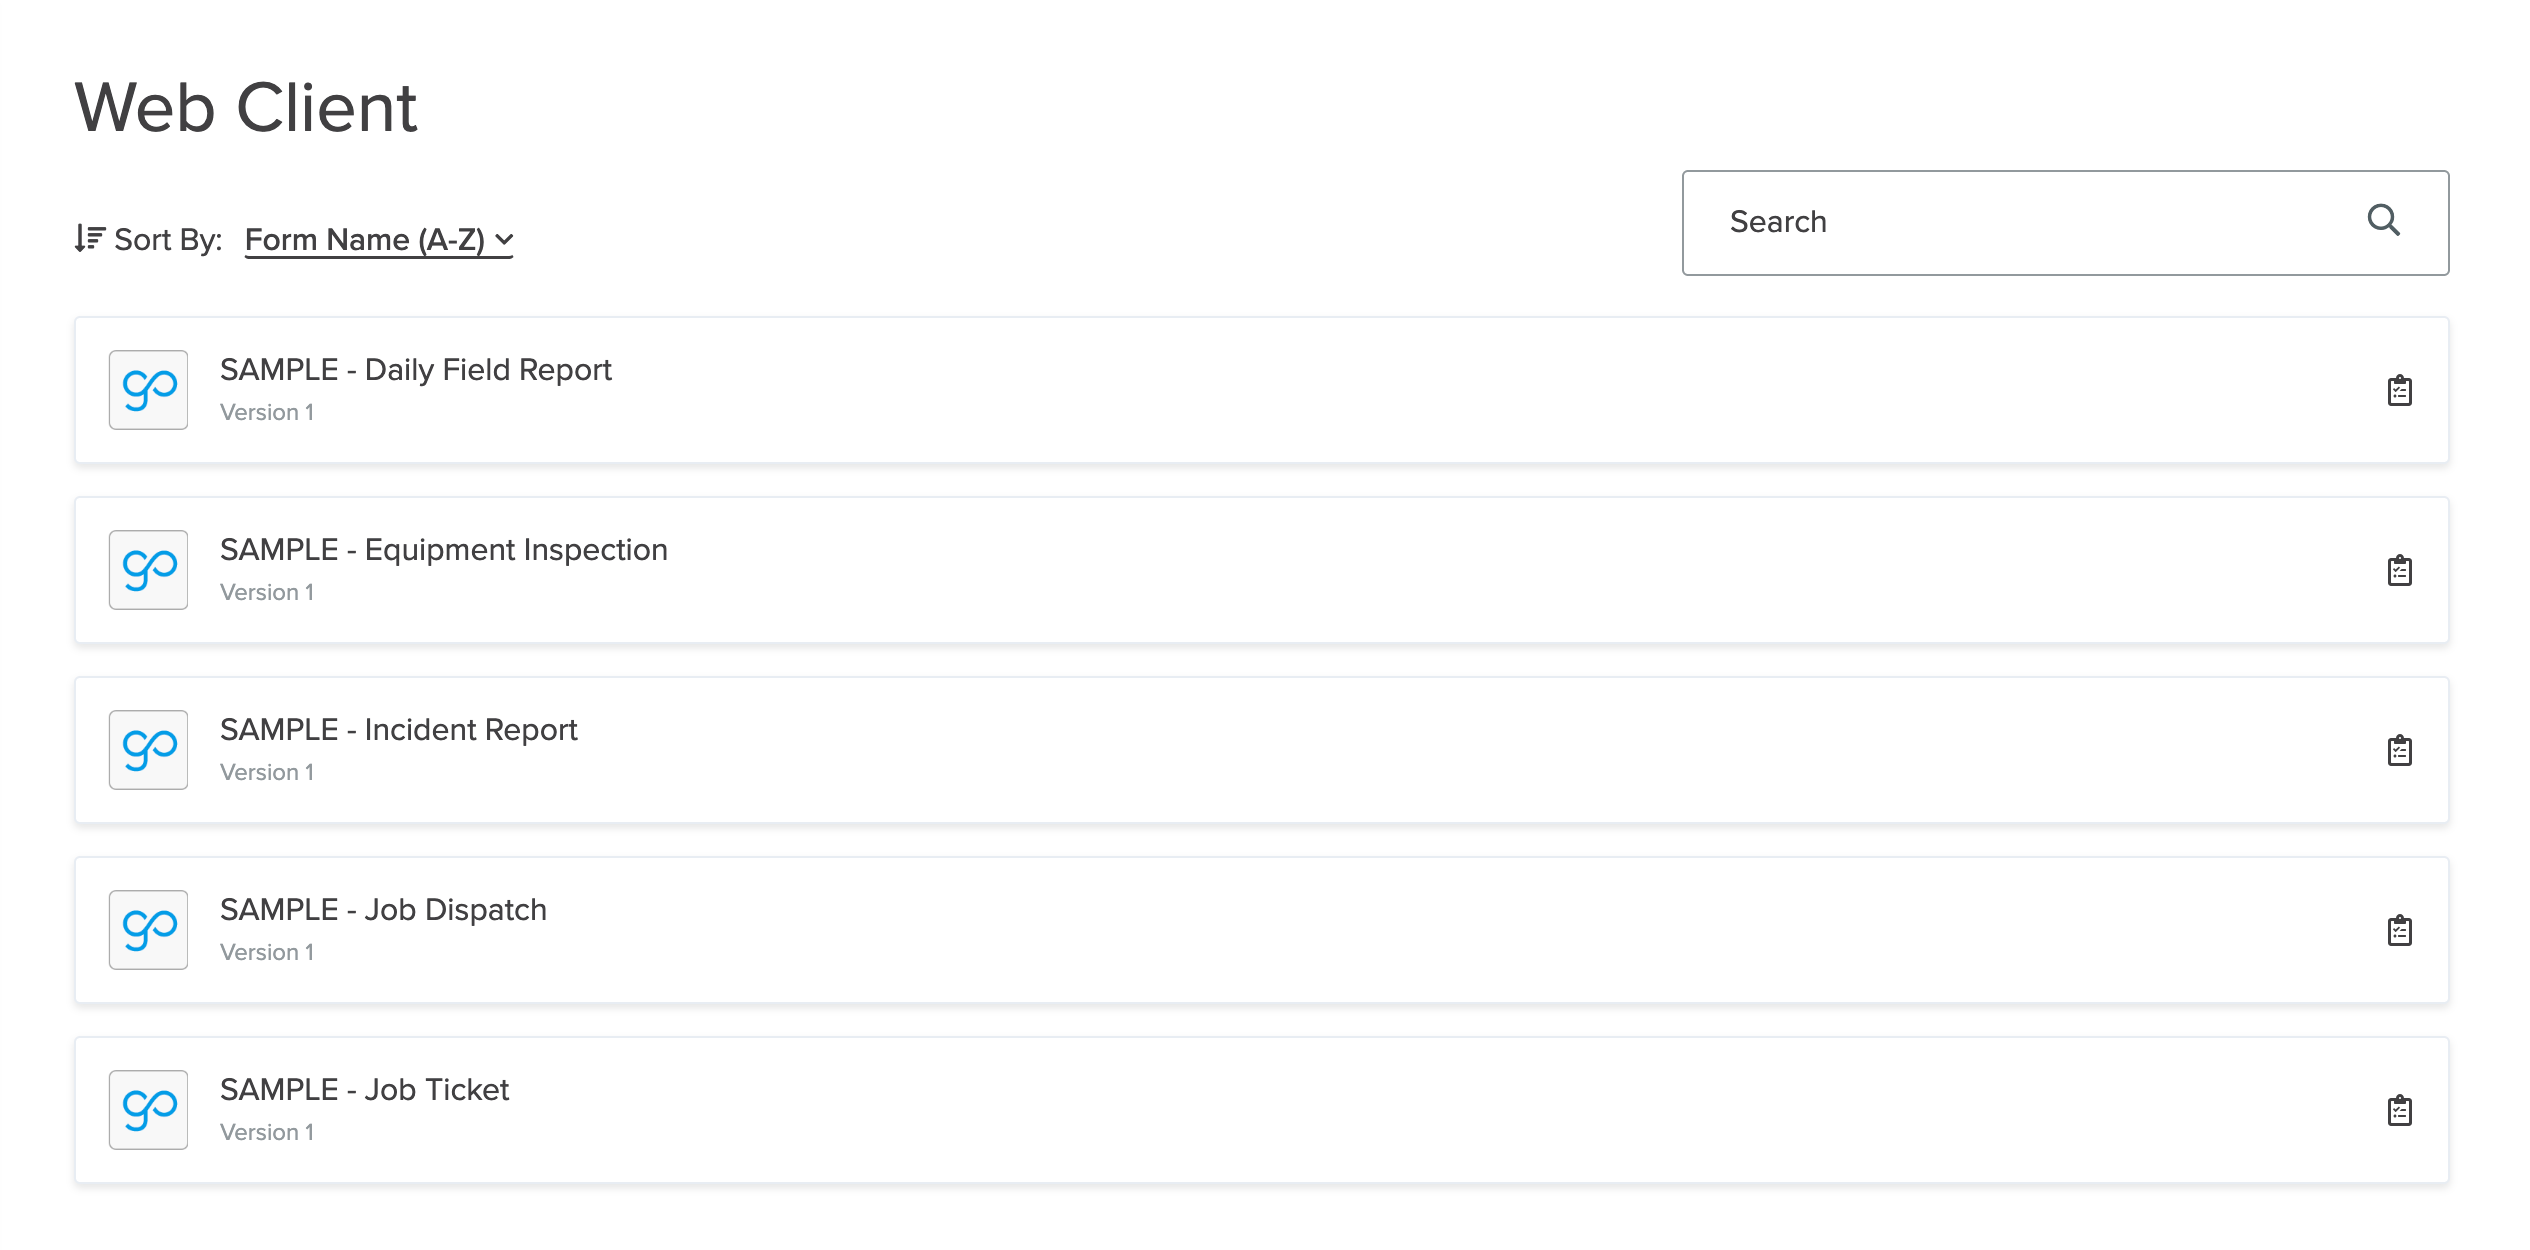
Sort and Search
On the left side of the Web Client page, you can Sort By the following attributes:
- Form Name (A-Z)
- Form Name (Z-A)
- Last Edited (Newest-Oldest)
- Last Edited (Oldest-Newest)
On the right side of the page, use the Search bar to find a specific form to complete.
Fill Out
Any form that is Published and assigned to you can be accessed in the Web Client and those forms will be listed on this page. You can also find saved partial submissions on this page. On the far right, in line with the form you want to fill out, click the Fill Out icon that looks like a clipboard.
Once inside a submission, the form filling experience is very similar to completing a Public Form (i.e. Web Form).
Table of Contents
In the upper left corner, you'll see the icon to expand Table of Contents, only if it is enabled for the form.
The Table of Contents will expand from the left. The orange dot indicates a screen that has incomplete information. The green dot indicates a screen that you have visited. In the upper left corner of the panel, click the back arrow to close the Table of Contents.
Ellipsis
In the upper right corner, the ellipsis expands to show Save & Close to save the submissions progress and Discard to delete the in progress submission or the progress made on the current handoff.
Filling out fields
Complete your submission as usual. The fields that are compatible with Web Client can be found in the table at the end of the article. At the bottom of the screen, use Previous and Next to backtrack or progress through the submission.
For Photo fields (Single and Multiple), a dialogue box will prompt you to drop a single file, browse from your computer, or use your webcam to take a photo. Barcodes can be scanned using the webcam as well.
Signature fields will also bring up a dialogue box to Type, Draw, or Upload an image of your signature.
Complete a submission
The Form Settings Edit & View and Email Option are also available for forms completed on the Web Client. Depending on what settings are allowed for a specific form, the final page will allow the user to Email Submission, Email me a copy, and Show PDF after submit. In the lower right corner, click Submit to finish the submission.
As with any other submission and depending on your Account view, view or edit any complete submissions on the Submissions page in either view, the Submitted tab in Work Hub, or the Submitted tab of Projects.
Compatible and non-compatible features
| Compatible | Non-compatible |
|
Field Types:
|
Pass/Fail field and Follow-Ups |
| Advanced and simple Loops, Lists, and Tables | Assignments |
| Conditions (Field and Screen) | Dark Mode |
| Dispatch (Immediate, Repeat, and Scheduled) | Future Dispatches |
| Reference Data (Live and static) | Assigning a submission to a Project/Customer/Site |
| Table of Contents | Remember/Recall |
| Workflow | Task Link |
| Tracker |
Tutorial video
Note
If you do not see Web Client in your left navigation, please reach out to your Account Manager to have it turned on for your account.
Did we answer your question?
We'd really appreciate your feedback! Please leave your suggestions for improvement in the comments or let us know what you're looking for so we can assist you better. We want to help, but we need to understand your needs!
Comments
0 commentsPlease sign in to leave a comment.